BLOGGER TEMPLATES AND TWITTER BACKGROUNDS »
Showing posts with label Technique Tutorial. Show all posts

Friday, May 4, 2012

Book of Days: May 4th (May the 4th Be With You) & 29 Faces #5

It's May 4th... a Geek High Holiday!
To 'celebrate' I Jedi'd myself for today's Face in 29 Faces. 

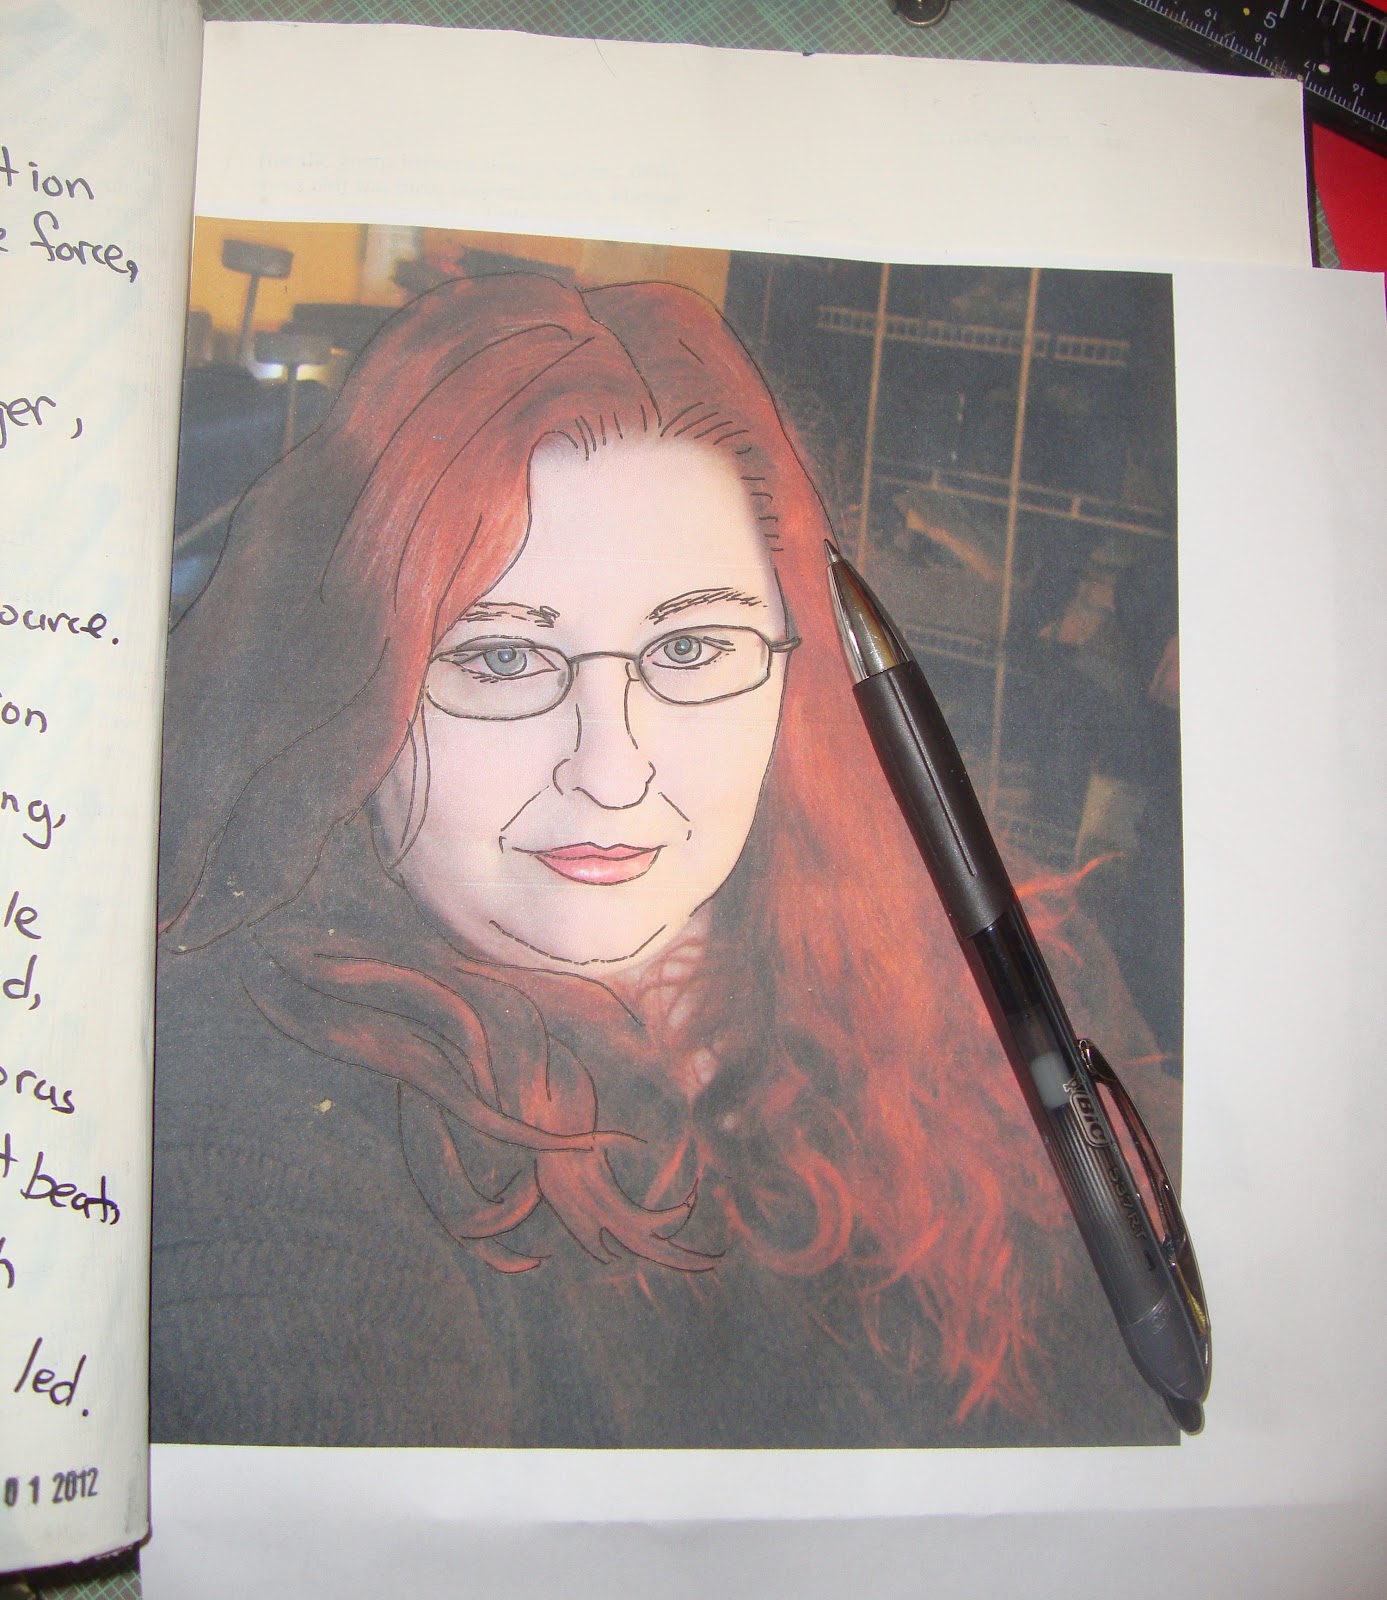
Took as-I-went pictures that I *hope* will help you with a possibly new-to-you and yet super-easy technique for making Faces.
It's an old Art School Trick we used in both caricature and cartooning class to get a 'base' of a Real Face from a photo. 
***Pictures are in the opposite order of the instruction!***
Wanted to put the finished page at the top so it show up when linked places. :O)

Started with a printout of the FACE picture, printed to fit my Book of Days Journal: 9 X 7" Textbook I'm Altering (ie trashing!). 
The page was primed with white $ store acrylic Craft Paint (DecoArt), you can still see the text coming through.
The back of the printed picture was lightly scribbled over with the side of a piece of graphite, a soft larger pencil would work great too, or charcoal...
Then using a ball point pen the main features are outlined.When it's lifted there is a faint 'guide' that can then be worked with... more details sketched in with pencil, other elements added etc... I added the light-saber and Jedi cloak.
Traced over what I wanted in Sharpie PEN (BEST PEN EVER!) and added the title.
Then  the color was added. I used Stampin' Up! Markers... LOVE what they do on this paint, they go on and soak in a bit and fade so it gives a 'comic book' feel to the image and almost no pen strokes show. Blends wonderfully!
I then retraced the Title.
(Time Start to Finish: Less than an hour)
Ta-Da!
Sarah the Jedi.


Wednesday, November 24, 2010

Lots To Do: What's your favorite technique? BLOOD!!!!

Its a toughie this week we are sharing our favorite technique(s) and hope you will share yours with us.

Not to tough for me! lol
I'm going to creep everyone out now...
My Favorite Technique is one I stumbled on by accident one day but have used again & again & again... 'cause it's just so 'bloody' easy and looks so 'bloody' good!
BLOOD!!!!
I start by dripping some 3D Crystal Lacquer on a scrap piece of paper.
Dime size blop is usually good for what I'm doing.
The recent Freddy Kreuger page I did I used to closer to a quarter size blop.
(See link at the bottom for pictures)
I also drip some Tattered Angels Glimmer Mist on beside it. (Scarlet)
Then Mix with a hardened paintbrush or tooth pick...
something stiff.
Then I drip in 2-3 drops of a much darker red Glimmer Mist (Brick) to get that darker, bloodier more realistic look.
Mix, Mix, Mix....
Then You can start to apply.
***WARNING***
It is much runnier than the 3D Crystal Lacquer was originally, almost as thin as water.
I always out a thin layer on quickly to seal the paper. Means you can apply as many coats as you want afterward, get texture etc... without it just soaking into the paper.
Once that 1st layer is dry (keep it thin and it'll dry almost instantly) you can start to build it up.
In this sample I put more on the lips, focusing in the center to make them look plump & ripe.
The blood drips are 3-4 layers... again allowing it to dry in between.
On the Freddy Kreuger page I even dripped it right on the page to get a Blood Spatter look.
That's it!
3D Crystal Lacquer
2 shades of Red Glimmer Mist (Bright & Dark)
Stiff Paintbrush or Toothpick
Scrap Paper (easy to toss when your done)
My Creep Vampire Postcard.
Image is from a magazine article on getting 'The Vampire Look' with make-up.
Eyes tinted with a Lime Highlighter Marker.
Printed in black & white and glued to Cereal Box Board.
Edges inked in Burgundy Ink.
mmmm.... Bloody Goodness!